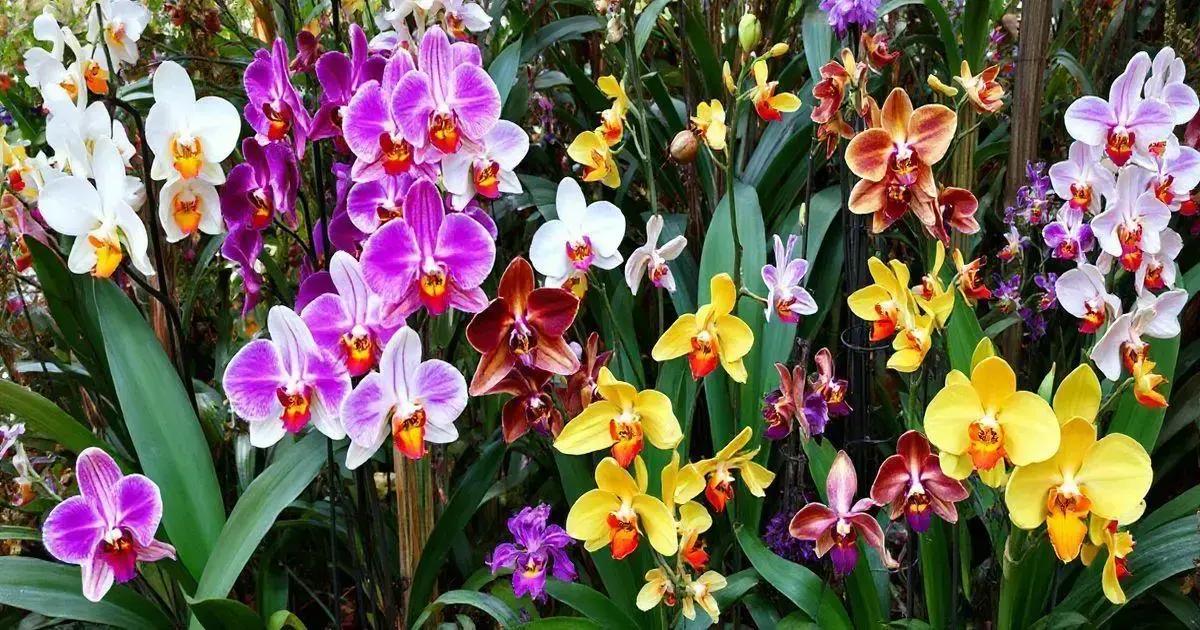
To successfully grow orchids, provide them with proper light, customized potting mix, and appropriate watering techniques. Regularly monitor for pests and repot as needed, ensuring optimal fertilization to promote robust growth and stunning blooms.
If you’ve ever wondered how to grow orchids, you’re not alone. These beautiful plants can be a rewarding addition to your home garden if you know the basics. This guide will teach you everything from choosing the right varieties to maintaining the ideal growing conditions for your orchids. Get ready to transform your space with these stunning blooms!
Understanding Orchid Varieties
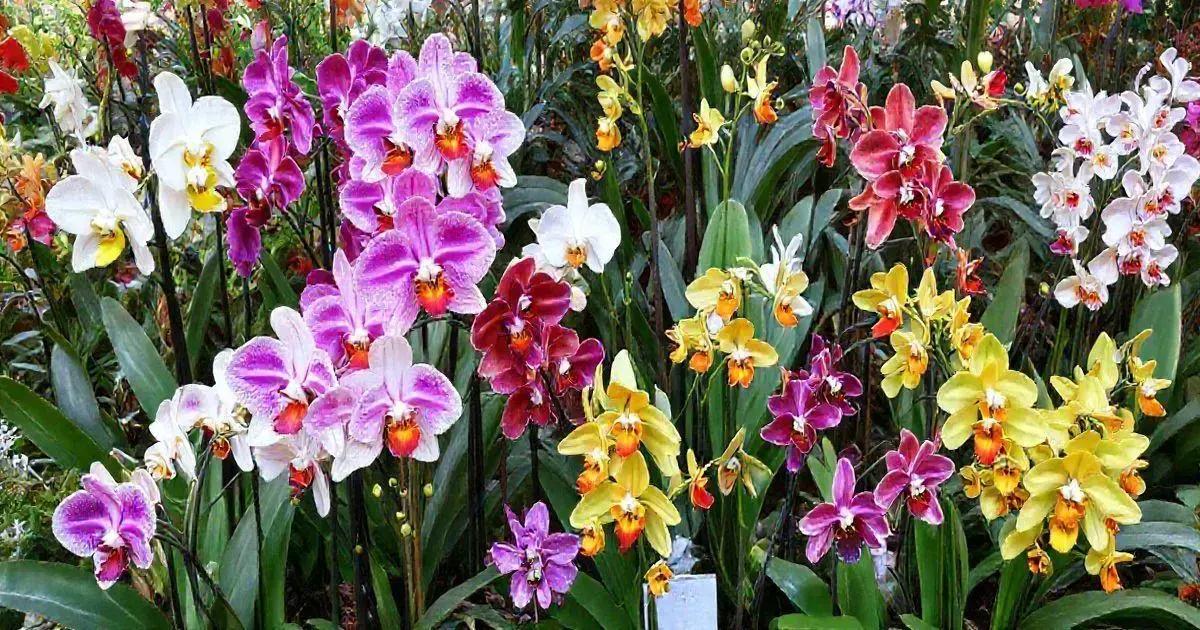
When it comes to growing orchids, understanding the different varieties is essential. Orchids come in many forms, colors, and sizes, each requiring unique care. Knowing which type suits your environment and skill level will make your gardening experience much more rewarding.
Types of Orchids
There are over 25,000 types of orchids, and they are broadly categorized into two main groups: epiphytic and terrestrial orchids.
Epiphytic Orchids
These orchids grow on trees or other surfaces, drawing moisture and nutrients from the air and rain. Popular examples include Cattleyas and Phalaenopsis. They thrive in well-draining materials and prefer bright, indirect light.
Terrestrial Orchids
Unlike epiphytic orchids, terrestrial orchids grow in soil and typically require a different care approach. Examples include Lady’s Slipper and Chinese Ground Orchid. They need good soil conditions and regular watering.
Hybrid Orchids
Hybrid orchids are bred for specific qualities, such as color and bloom size. These hybrids can be easier to grow than their parent plants and often have stronger resistance to pests and diseases. For instance, Phalaenopsis hybrids are known for their stunning flowers and adaptability.
Choosing the Right Variety
When selecting an orchid, consider your environment. Temperature, humidity, and light levels all play significant roles in successful growth. Start with easy-to-care-for varieties if you’re a beginner, as they offer a good learning experience.
In summary, understanding the various orchid varieties is crucial for success. Knowing whether to choose an epiphytic, terrestrial, or hybrid orchid will impact how well you can nurture these beautiful plants.
Essential Tools for Growing Orchids
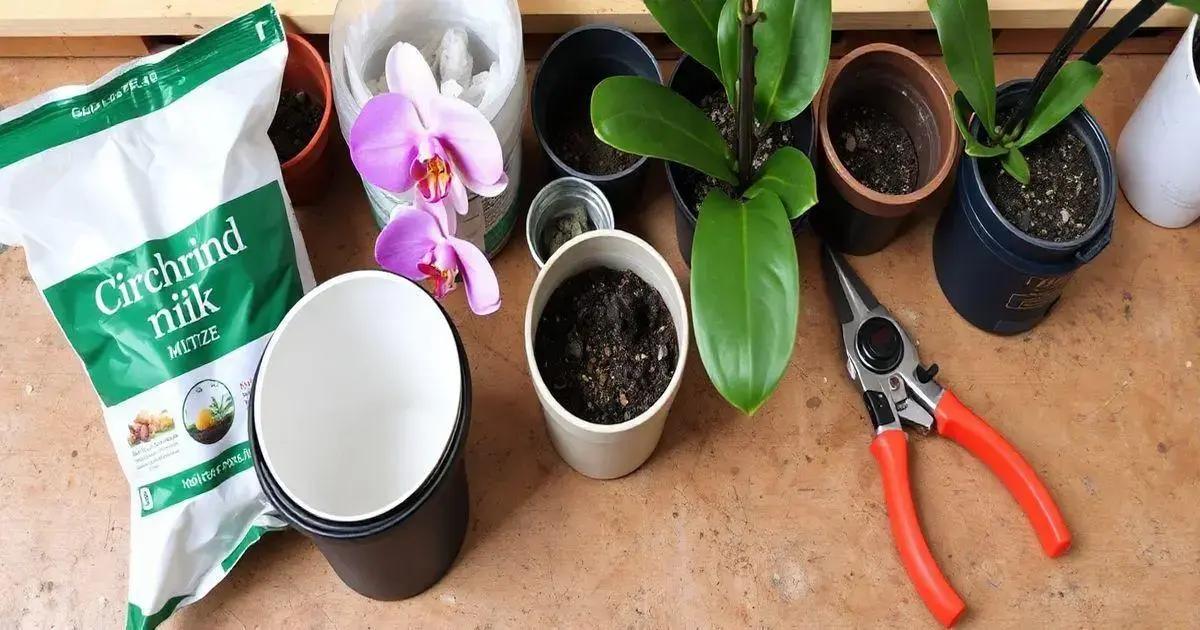
To effectively grow orchids, it’s important to have the right tools on hand. The right equipment can make caring for these beautiful plants easier and more successful. Here are some essential tools you should consider when growing orchids.
1. Orchid Potting Mix
Purchase a quality potting mix designed specifically for orchids. This mix usually contains bark, charcoal, and sometimes sphagnum moss, allowing for proper drainage and air circulation.
2. Pots with Drainage Holes
Using pots that have proper drainage holes is vital. This prevents water from sitting at the bottom, which can cause root rot. Choose pots made of clay or plastic to allow moisture to escape.
3. Watering Can or Spray Bottle
A watering can with a long spout or a spray bottle is essential. It provides a gentle way to water your orchids, ensuring they receive the right amount of moisture without overwatering.
4. Fertilizer
Invest in a good quality orchid fertilizer. A balanced fertilizer with equal parts nitrogen, phosphorus, and potassium is usually recommended. You can also use a specialized orchid fertilizer for best results.
5. Pruning Shears
Keep a pair of sharp pruning shears handy. You will use these to trim dead leaves and spent flowers, promoting new growth and healthier plants.
6. Humidity Tray
A humidity tray can help maintain the moisture level around your orchids. Fill a shallow dish with water and place it under the pots, or use pebbles to elevate the pots while allowing water to evaporate beneath them.
7. Light Meter
A light meter can be helpful to measure the light levels in your growing area. Orchids typically prefer indirect light, so understanding your plant’s light needs is crucial.
8. Thermometer and Hygrometer
Maintaining proper temperature and humidity is vital for orchids. A thermometer helps you keep track of temperature, while a hygrometer measures humidity levels.
By equipping yourself with these essential tools, you will create a suitable environment for your orchids, helping them thrive and produce stunning blooms.
Choosing the Right Potting Mix
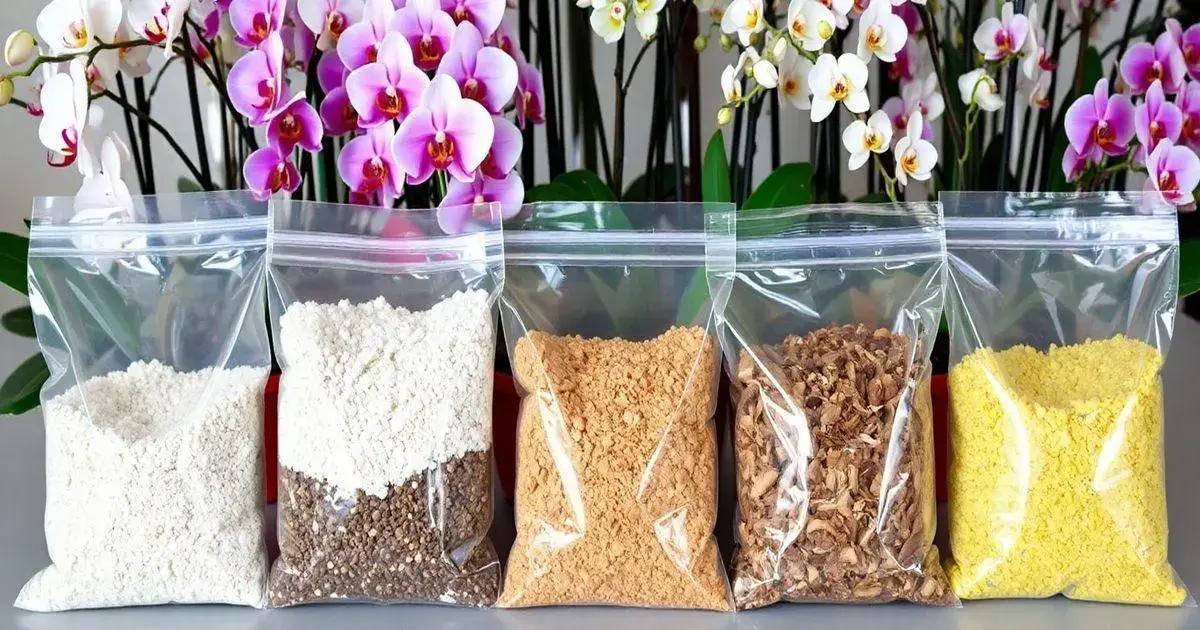
Choosing the right potting mix for your orchids is crucial for their health and growth. Orchids are not like regular houseplants; they need a special medium that allows for proper drainage, aeration, and moisture retention.
Why Potting Mix Matters
An appropriate potting mix provides support for the roots while allowing excess water to drain easily. The wrong mix can lead to root rot, poor growth, or even death.
Components of Orchid Potting Mix
Orchid potting mixes typically contain several ingredients that cater to the needs of these unique plants:
- Bark: Provides drainage and structure, is used in various sizes depending on the orchid type.
- Perlite: A lightweight material that improves drainage and aeration.
- Sphagnum moss: Helps retain moisture without becoming soggy.
- Charcoal: Helps to keep the mix fresh and reduces odor.
Different Mixes for Different Orchids
Not all orchids have the same needs. For example:
- Cattleya orchids: Prefer a coarser mix with larger bark pieces.
- Phalaenopsis orchids: Thrive in a well-draining mix with a combination of bark and moss.
- Oncidium orchids: Benefit from a lighter mixture that includes perlite for excellent drainage.
Where to Buy or How to Make Your Own
You can purchase orchid potting mix from garden centers or make your own at home. To create your mix, combine equal parts of bark, perlite, and sphagnum moss. Adjust the proportions based on the specific type of orchid you are growing.
Signs of a Poor Potting Mix
Watch out for indicators that your potting mix isn’t working for your orchids:
- Yellowing leaves.
- Unpleasant odors.
- Excess water pooling in the pot.
In summary, selecting the right potting mix tailored to your orchid type is essential for ensuring their health and beautiful blooms.
Light Requirements for Orchids
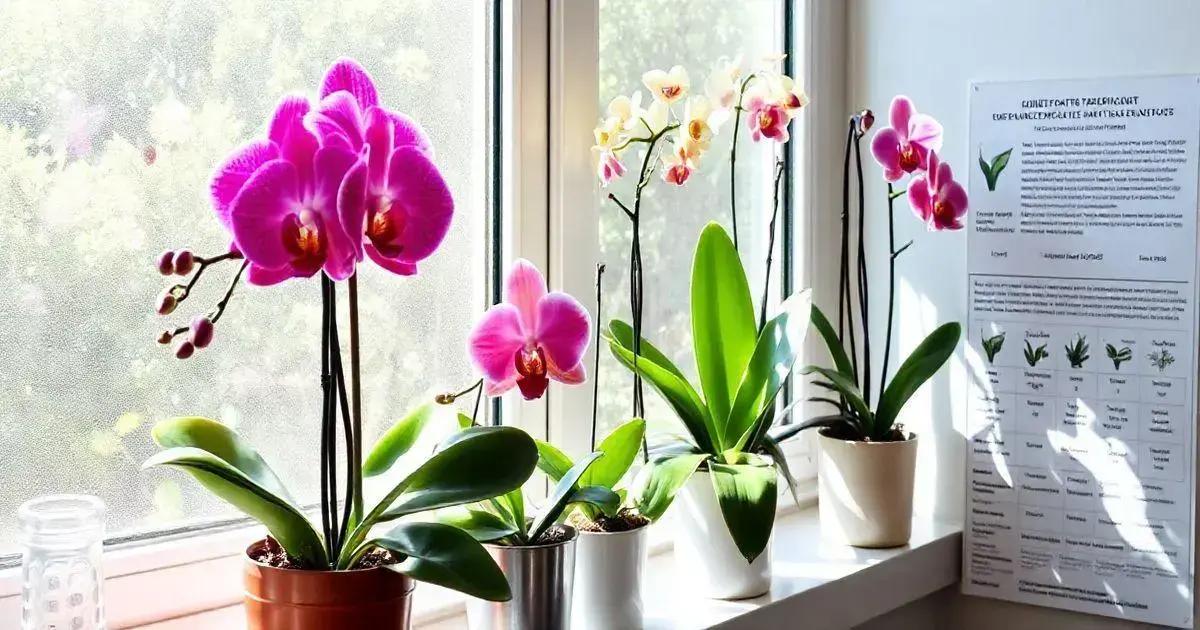
Light is a critical factor in orchid care. These beautiful plants thrive when they receive the right amount of light, which varies by species. Understanding light requirements is essential for healthy growth and stunning blooms.
Types of Light
Orchids can adapt to different types of light:
- Indirect Bright Light: This is the most suitable light type for most orchids. It is filtered light that doesn’t cause leaves to burn.
- Low Light: Some orchids, such as Phalaenopsis, can tolerate low light conditions. They may bloom less but can still survive well.
- Direct Sunlight: While some orchids can handle a few hours of direct sun, others may suffer from sunburn. Generally, avoid prolonged direct sunlight.
Identifying Light Levels
To determine if your orchids are getting the right light, check the following:
- Leaf Color: Healthy leaves should be a vibrant, bright green. Dark green leaves indicate too little light, while yellow or scorched leaves suggest too much light.
- Growth Direction: If your orchid is leaning towards the light source, it may need more light. Rotate the pot regularly for even growth.
Best Locations for Orchids
When placing your orchids, consider these locations:
- East-facing Windows: These windows provide gentle morning light, which is ideal for many orchid species.
- South or West-facing Windows: If you use these windows, make sure to filter the direct sunlight to avoid scorching the leaves.
- Grow Lights: If natural light is insufficient, consider using grow lights. They can provide the needed spectrum for healthy orchid growth.
Adjusting Light Throughout the Year
In different seasons, sunlight conditions can change. Be prepared to adjust your orchids’ locations as necessary. In winter, many homes receive less natural light, so additional measures might be needed to ensure your orchids get enough light.
By understanding and managing your orchids’ light requirements, you’ll create a thriving environment that promotes stunning growth and beautiful blooms.
Watering Techniques for Orchid Care
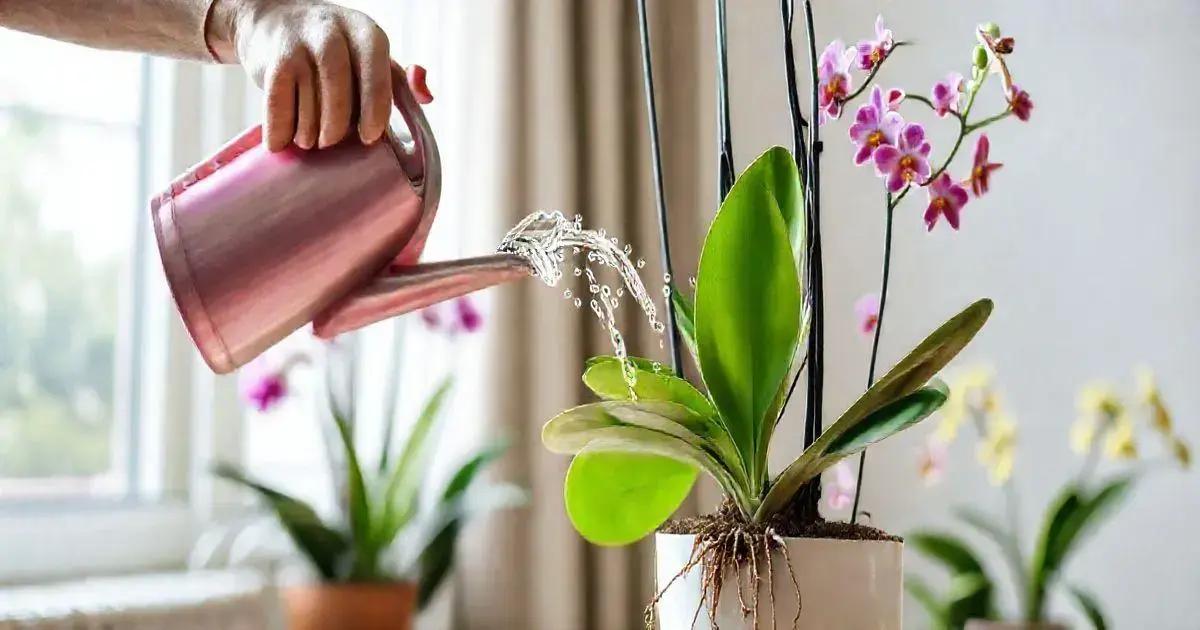
Watering your orchids properly is essential for their health and growth. Understanding the best watering techniques helps to prevent root rot and promotes beautiful blooming.
Frequency of Watering
Orchids generally should be watered every 1 to 2 weeks. However, the exact frequency depends on factors such as:
- Species: Different orchids have different needs. For example, Phalaenopsis orchids may require more frequent watering than Cattleyas.
- Environment: Humidity, temperature, and light can affect watering needs. In warmer, dryer conditions, your orchids will need more water.
- Potting Medium: The type of potting mix you use will also influence moisture retention. Mixes with more bark tend to dry out faster than those with moss.
How to Water Orchids
Here are some effective methods for watering orchids:
- Bottom Watering: Fill a container with water and place the pot inside without submerging it. Let the roots soak for about 10-15 minutes. This method encourages deep root growth.
- Top Watering: Use a watering can or spray bottle to gently water the potting mix. Ensure water flows through the holes at the bottom for proper drainage.
- Collect Drainage: Always let orchids drain fully after watering. Do not let them sit in excess water, as this can lead to rot.
Testing for Watering
Before watering, check the potting mix moisture. A good method is:
- Finger Test: Stick your finger into the mix up to the first knuckle. If it feels dry, it’s time to water. If it’s still moist, wait a few days.
Signs of Over or Under-Watering
Recognize the signs of proper and improper watering:
- Under-Watering: Leaves may shrivel, become wrinkled, and turn yellow.
- Over-Watering: Leaves may turn yellow and drop off, while roots can appear dark and mushy.
Correctly watering your orchids will provide them with the moisture they need to flourish and create stunning blooms.
Fertilizing Orchids for Optimal Growth
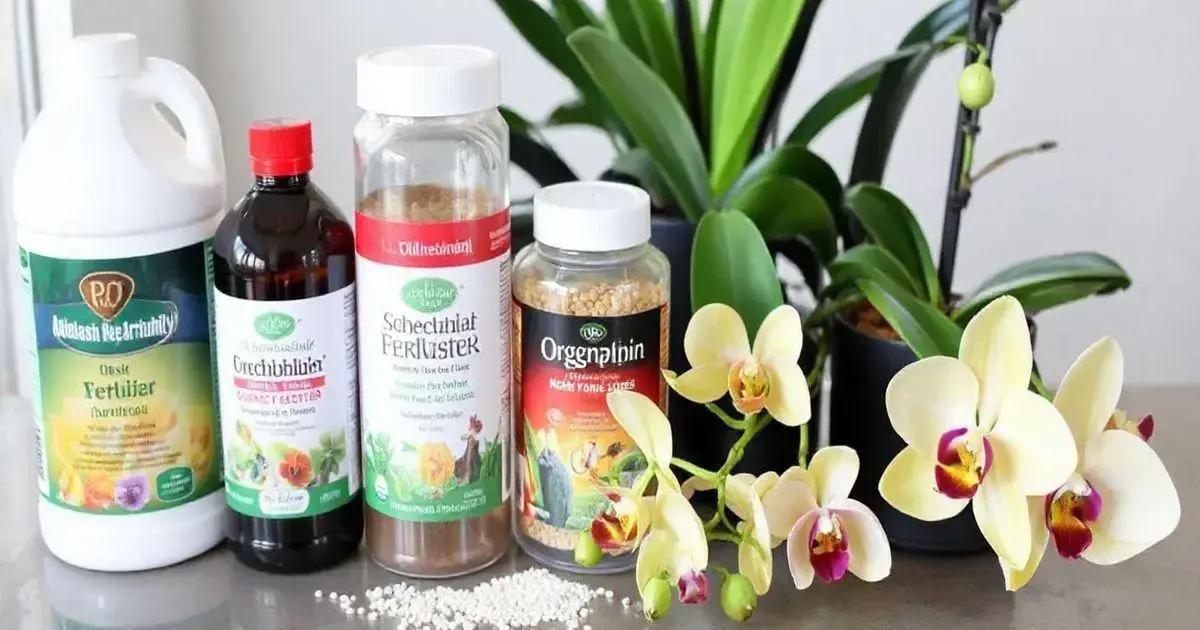
Fertilizing your orchids correctly is key to achieving optimal growth and stunning blooms. These plants have specific nutritional needs that must be met to thrive.
Types of Fertilizers
When it comes to fertilizing orchids, there are different types of products available:
- Liquid Fertilizers: These are often the easiest to use. Dilute them with water according to the instructions on the label.
- Granular Fertilizers: These release nutrients slowly over time. They’re usually mixed into the potting medium.
- Slow-Release Fertilizers: These come in crystals or pellets, releasing nutrients steadily for several months.
Nutrient Ratios
Orchid fertilizers are commonly labeled with a series of three numbers, indicating the ratio of nitrogen (N), phosphorus (P), and potassium (K). For example, a fertilizer labeled 30-10-10 contains 30% nitrogen, 10% phosphorus, and 10% potassium. Orchids typically benefit from a balanced or slightly higher nitrogen formula, such as 30-10-10 or 20-20-20.
When to Fertilize
Fertilizing should be done during the growing season, which usually stretches from spring through summer. During these months, fertilize every 2-4 weeks. Reduce or stop fertilizing in the fall and winter when orchids typically enter a dormant period.
How to Apply Fertilizer
When applying fertilizer, follow these simple steps:
- Water your orchid first. This helps prevent fertilizer burn on the roots.
- Dilute liquid fertilizers to half-strength unless instructed otherwise.
- Apply the diluted fertilizer directly to the potting medium. Avoid getting it on the leaves.
Flush the Potting Medium
Every few months, it’s beneficial to flush the potting medium with plain water. This helps remove any built-up salts from fertilizers that can be harmful to the roots.
By fertilizing your orchids correctly, you’ll support strong growth and vibrant blooms, enhancing the beauty of your plants.
Common Orchid Pests and Solutions
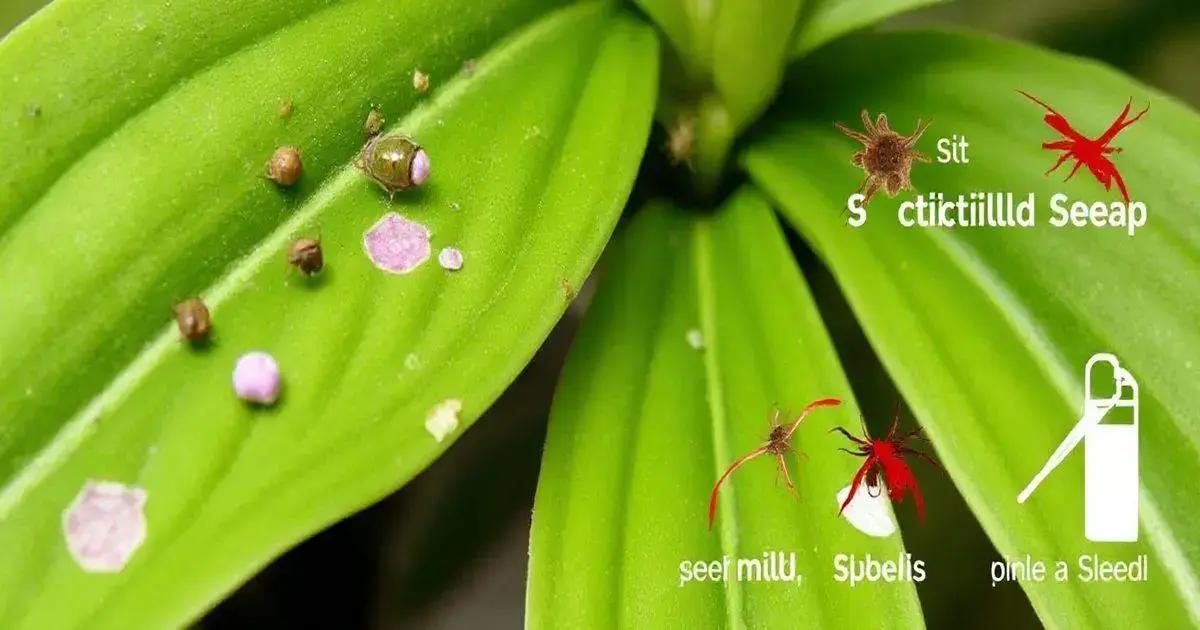
Orchids are beautiful plants, but they can attract various pests that threaten their health. Identifying common orchid pests and applying effective solutions is vital for keeping your plants thriving.
Types of Common Orchid Pests
Below are some prevalent pests that you might encounter:
- Mealybugs: These small, white, cotton-like insects suck sap from plants, weakening them. They typically hide in leaf joints.
- Scale Insects: Tiny and sometimes dark-colored, they attach to leaves and stems, causing yellowing and leaf drop.
- Spider Mites: These pests are tiny and often create fine webbing. They prefer dry conditions and can cause stippling on leaves.
- Aphids: Commonly found in clusters, aphids also suck plant sap and can transmit diseases.
- Thrips: These tiny insects cause discoloration and damage by feeding on plant tissues, often leaving black droppings.
Signs of Pest Infestation
Recognizing the signs of pest infestation is crucial:
- Leaf Damage: Look for yellowing, wilting, or spots on the leaves.
- Sticky Residue: A sticky film, called honeydew, may be present, indicating aphids or mealybugs.
- Webbing: Spider mites create webbing, which can be seen between leaves.
Effective Solutions
Here are some methods to deal with orchid pests:
- Manual Removal: For small infestations, you can remove pests by hand or by gently wiping the leaves with a damp cloth.
- Insecticidal Soap: This is effective against soft-bodied insects like mealybugs and aphids. Follow the instructions on the label.
- Neem Oil: A natural solution effective against various pests, neem oil can be sprayed directly onto affected plants.
- Horticultural Oil: Use this to coat the affected area, suffocating insects and preventing further infestation.
- Insect Traps: Sticky traps can be placed near orchids to catch flying pests like thrips.
Prevention Tips
Preventing pest infestations is easier than treating them:
- Inspect New Plants: Always check new plants for pests before introducing them to your collection.
- Maintain Ideal Growing Conditions: Healthy orchids are less susceptible to pests. Ensure proper light, watering, and humidity.
- Regular Cleaning: Clean the leaves and growing area regularly to remove dust and any potential pests.
By staying vigilant and acting quickly, you can protect your orchids from common pests and enjoy their beauty for years to come.
Repotting Your Orchids Correctly
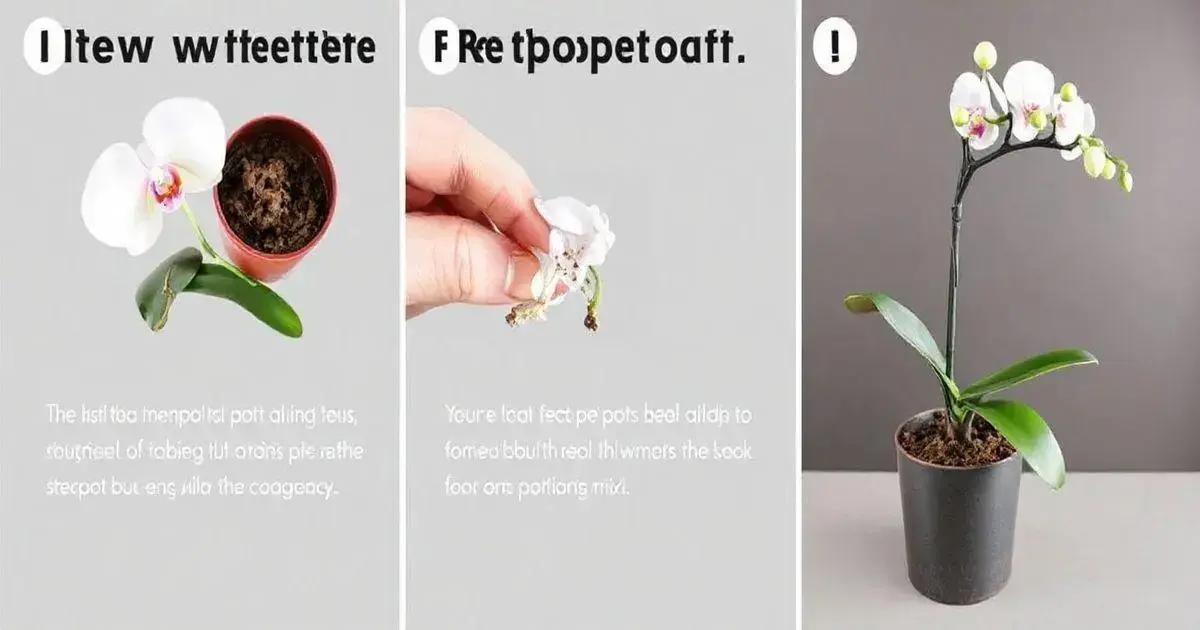
Repotting your orchids correctly is essential for their health and growth. Knowing when and how to repot can help your orchids thrive and produce stunning blooms.
When to Repot
Orchids generally need to be repotted every 1 to 2 years. Here are the signs that indicate it’s time:
- Root Overcrowding: If roots are growing out of the pot or are tightly packed, it’s time to repot.
- Decay in Potting Medium: If the medium breaks down and retains too much moisture, it can cause root rot.
- After Blooming: Repot after an orchid has finished blooming to give it a fresh start for the next growth cycle.
Choosing a New Pot
Select the right pot for repotting:
- Size: Choose a pot that is slightly larger than the current one. Too big a pot can lead to excess moisture.
- Drainage: Ensure that the pot has drainage holes to allow water to escape easily.
- Material: Terra cotta or plastic pots are good choices. Terra cotta provides breathability; plastic retains moisture.
Repotting Process
Follow these steps to repot your orchid:
- Prepare the New Pot: Place fresh, suitable potting mix at the bottom of the new pot.
- Remove the Orchid: Gently take the orchid out of its current pot. You may need to squeeze the pot or use a knife to loosen it.
- Carefully Clean Roots: Remove old potting medium from the roots. Inspect the roots and cut away any dead or rotten parts using sterilized scissors.
- Position the Orchid: Place the orchid in the new pot. Hold it upright and fill in around the roots with fresh potting mix. Tap lightly to settle the mix.
- Water It Properly: Water the orchid lightly after repotting to settle the roots, but avoid soaking.
After Repotting Care
After repotting, provide the right care:
- Location: Keep the newly repotted orchid in bright, indirect light.
- Water Less Frequently: Wait a week before watering again to let the roots adjust.
- Humidity: Maintain humidity levels to encourage new root growth.
Taking these steps helps ensure a successful repotting process, leading to healthy, beautiful orchids.
Final Thoughts on Growing Orchids
Growing orchids can be a highly rewarding hobby that brings beautiful blooms and joy to your home. By understanding the various aspects of orchid care, such as light requirements, watering techniques, and optimal fertilization, you can create the perfect environment for these stunning plants. Regular maintenance, including repotting and monitoring for pests, is essential for healthy growth.
With the right tools and knowledge, even beginners can successfully cultivate orchids and appreciate their unique beauty. Remember that patience and attention to detail are key in this journey of nurturing your orchids.
Whether you’re a seasoned gardener or just starting out, following these guidelines will help you achieve flourishing orchids that will brighten your space for years to come.
FAQ – Frequently Asked Questions About Orchid Care
How often should I water my orchids?
Orchids generally need to be watered every 1 to 2 weeks, depending on the species and growing conditions.
What type of potting mix is best for orchids?
A potting mix specifically designed for orchids, usually containing bark, perlite, and moss, is ideal for providing proper drainage and air circulation.
When should I repot my orchids?
Orchids should typically be repotted every 1 to 2 years, especially if you see overcrowded roots or decaying potting medium.
What are the signs of pests on my orchids?
Signs of pest infestation include yellowing leaves, sticky residue, and webbing between leaves. Common pests include mealybugs, spider mites, and aphids.
How can I fertilize my orchids?
Use a balanced orchid fertilizer during the growing season, and dilute it according to the package instructions. Fertilize every 2 to 4 weeks.
What light conditions do orchids prefer?
Most orchids thrive in bright, indirect light. Some species can tolerate lower light, while others need filtered light to prevent leaf burn.
About the Author


0 Comments